Slowly I am getting there. The chair is nearly done. I’ve found it necessary to rest too often lately, and it has really extended the timeline. L has been working from home which also kills my levels of productivity thanks to a lot of interruptions and time taken to make meals that otherwise wouldn’t be happening. I naturally have a harder time with my motivation when anyone is around besides. Finally the end came into sight yesterday though, and I’m mostly happy with the way it is turning out.
In the afternoon I had to stop work early, and I was as far as having attached one outer arm section. Today I should do the other outer arm and the back. Then I could make and glue the double welt trim to completely finish… except that I need a lot more of the cord to do that. (I selected a thinner kind than the big spool I have since the velvet makes it appear even wider.) Drat, drat, Drat! Tomorrow I have an appointment which is right by the store to get more, so I cannot finish it until sometime after. I’m not thrilled about this, but I’m not wasting time and fuel today to go to the store when I have to be there tomorrow.
Here is yesterday’s stopping point. Aside from missing the finishing welt on the edge it looks done from this angle, yay!
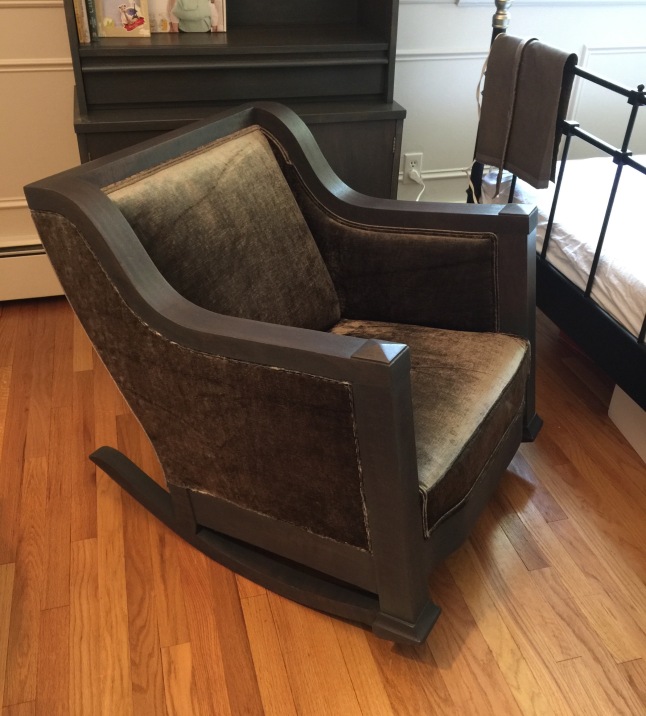
You may notice a flaw that I regret… When I pieced lengths of bias for the welt trim for along the inner seat I mistakenly switched the direction of the nap of one piece, and the light catches it very obviously. I’m irked with myself for not catching this until I was in the midst of gluing, and for thinking that the bias would keep it from being noticeable. It sticks out like a sore thumb to me, and I am past the stage where I could tear it off and replace it. (I was too afraid to try this when I first realised only halfway through gluing, and it could have been a big issue pulling out staples from the narrowly trimmed edge and ruining that side, I guess… so, I’m trying to ignore it.)
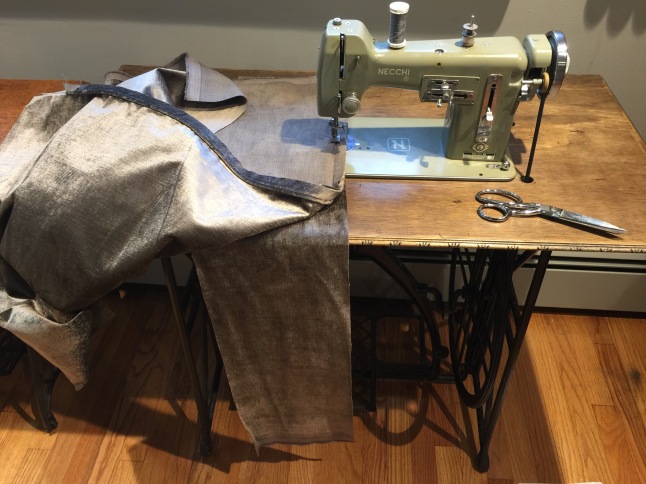
Bits of bias cut velvet made into cording/piping for the seat and to border the outer back:


The piping gets sewn to one seat piece, and then you go over the stitching again with it sandwiched. All the sewing is done with a double cording foot.
At this point I was excited to finally begin applying the pretty fabric to the chair. I measured and marked where the piped seam should sit to make it easier and more precise to attach. I’m not certain if this is correct, but it seemed like a good idea to hand stitch the seam to the line in order to keep its proper placement. All my other sofas and chairs had separate cushions, and this is similar to what is done with the seat deck in those cases. I didn’t want it to pull out of position as I stapled or to slide with use, and I hope it works out well long term. (Not only to look better, but using a curved needle really sucks and cramps up my hand, so it better be worth it!)


Stapling the seat and then finished off with welt:


Inner arms done and gluing the trim:


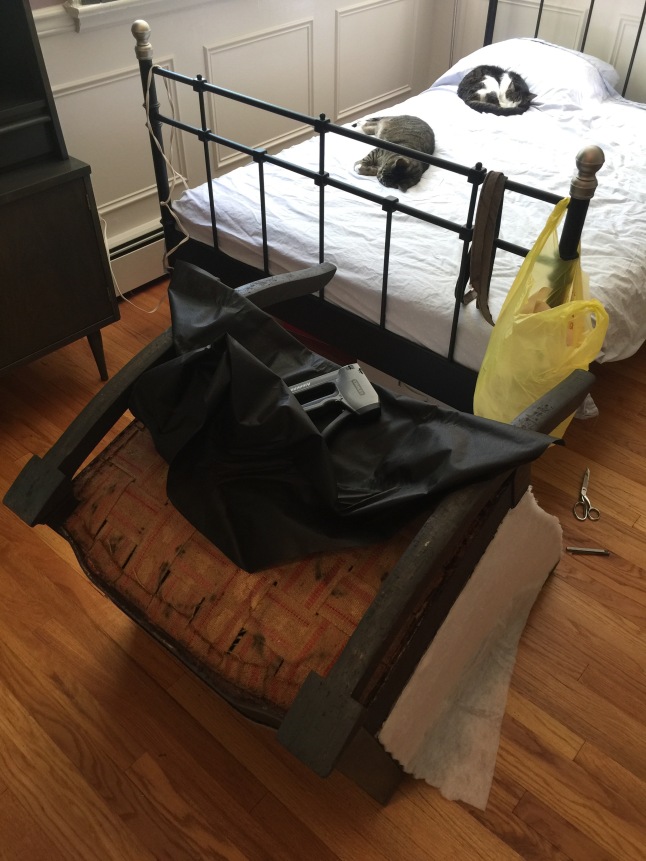
Attaching muslin and dracon:


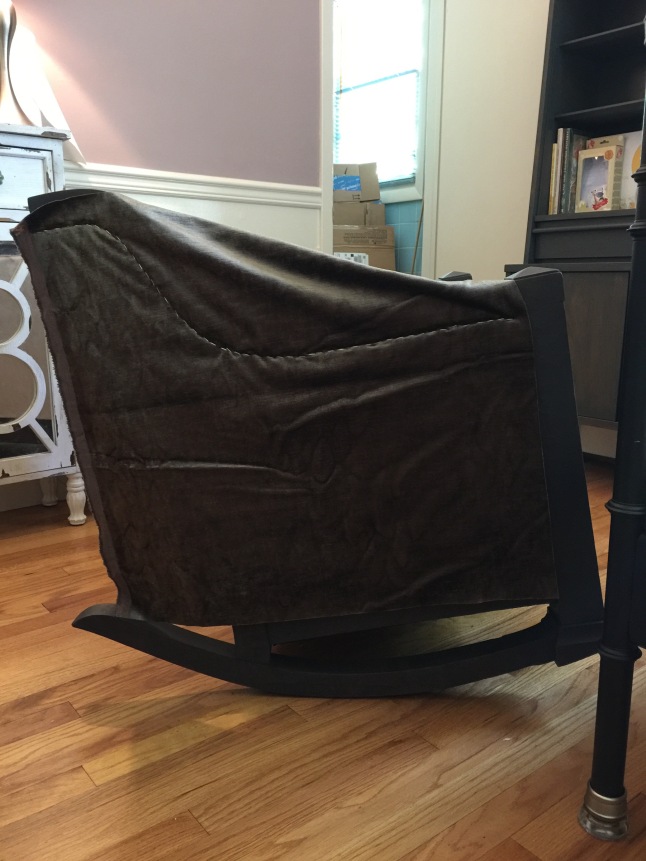
Stapling outer arm:
At this point I realised I could finish off the bottom with cambric and didn’t have to wait until I have the welting cord or anything. Yay. The straps are all hidden and clean now.
Waiting for another outer arm, the back, and finishing trim:


So close! If only I wasn’t held back by running out of the cord! I cannot even spend the rest of the day making pillows without it. Instead I’ll probably install blinds and do other small tasks depending on my pain and energy levels. Needing the space to work on the chair has kept me from pulling out the crib, or anything like that, and I could today… but I probably should wait until after our vacation that starts tomorrow just to avoid unnecessary cluttering. Perhaps I’ll plan out the quilt(s) to figure out yardage requirements or even cut out a dress? Or just spend too much time laying flat on my back to keep it from going into full on spasm, more likely. Sigh.

It is looking good!!! I give you a lot credit,I don’t know if I can do anything like that…it’s amazing!!!
LikeLike