Before I get to the chair… I’ve been busy and working hard! Yesterday I gave the mid-century Bassett hutch a couple of coats of satin polyacrylic, and it is done. Yay! I updated the post with completed photos, but here they are too:


I wanted to apply the protective coat as soon as possible to let it cure well before things are placed on it. Next I tackled the rocking chair.
Earlier this week I had reluctantly removed a good portion of dracon and supportive layers which had been made disgusting while in storage or from my friend’s cat acting out. The other day she told me that she had spotted the chair kerbside! I’d just told her about scoring the Bassett hutch, and she shared the joy of found treasures. 😀 What brand or store it came from is a mystery, and I think it may have had some moisture damage before she acquired it 18 years ago given how rusted away the lower staples were. Her cat sure did a number on it too! (Honestly, I saw the vinyl and figure how bad could it possibly be? Yeah, bad.)
Here is a reminder of Before in the photos she sent me to see if I was interested in taking it:


Cleaned up a bit after she brought it over to our house:


After stripping the frame and sanding:


Earlier this week while removing layers that would have been nice to be able to keep:
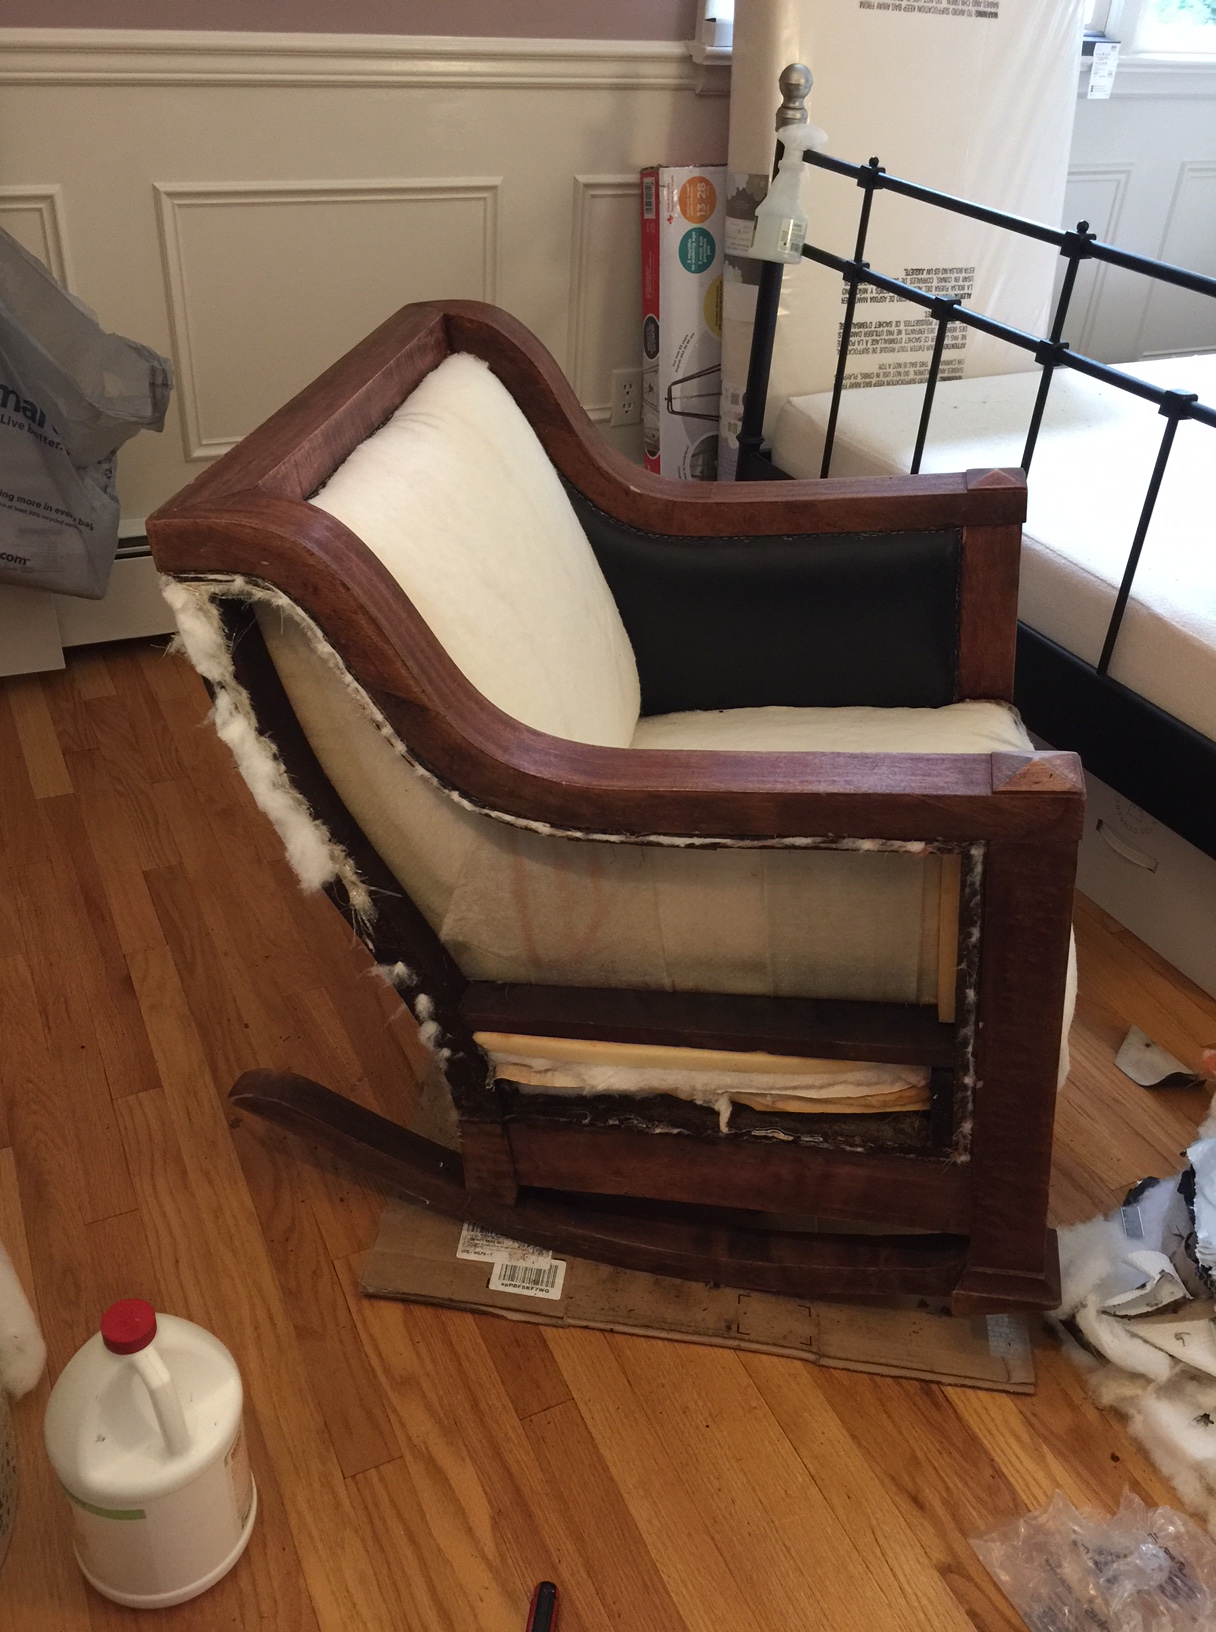
Besides removing anything nasty I also used a bunch of enzyme scent remover stuff on it. It helped a lot, I think. Next I stained the frame:


I love the carbon grey stain and how well all the wooden pieces are going to match!
Yesterday I set about removing more layers and staples from the rocking chair. What an unpleasant part of the process! It is messy, gross (when dealing with this particular item anyway,) takes a lot of hand strength, and is tedious. Luckily I’d done most of the hard part already and by early afternoon could begin the fun part of transforming the piece into a nice newly upholstered chair. Unfortunately my second sewing machine, with the high shank and all the attachments that can be used for upholstering, had problems. It’s a Necchi BU that has never seemed to work 100% as well as it should ever since I bought it. I wasted several hours messing with it before finally getting things to work sufficiently, and I was very irritated. Thus I never go to begin applying the linen velvet to the chair yet, but I did leave off with a muslin base for the seat deck:
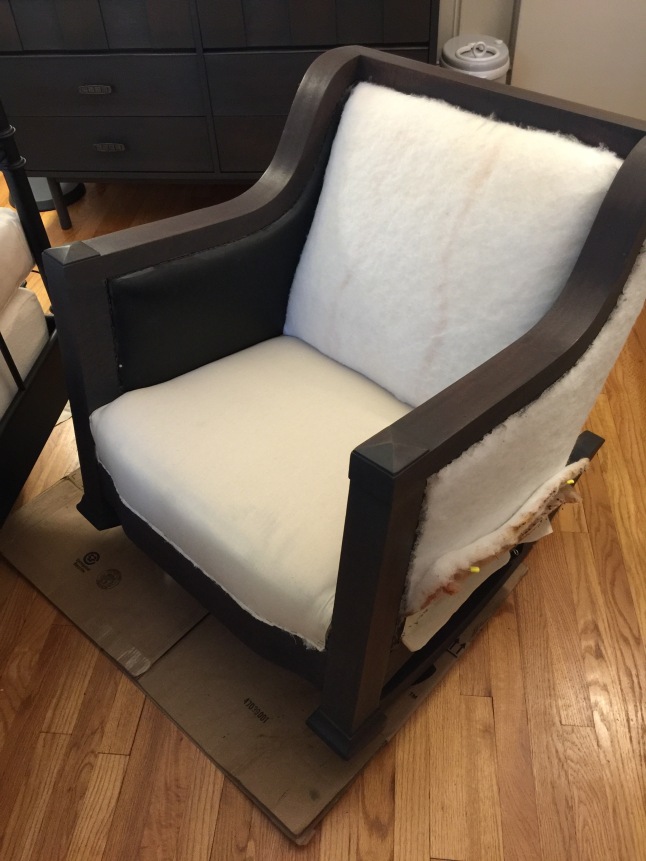
The muslin gives a smooth base and allows the batting to be basted down temporarily (after covering with the velvet the threads are cut to let the foam spring back into place and this prevents sad, saggy, excess fabric on the seat after use.) I find the tidy muslin layer is nice for feeling like I accomplished something and gives a good sense of “I can do this” before cutting the precious final fabric too. It lets you get a better idea of how to handle fiddly bits, so I don’t recommend skipping it although it is tempting to save the time and fabric.
On to the gorgeous linen velvet… I never unwrapped it in the years since it was purchased, without any set project in mind, back in 2012. Of course I had forgotten how much yardage there was, but there was plenty for this chair, even with planning extra pillows and dealing with the nap, with 8 or 9 yards on the roll. As I recall I spent about 80$ on it thanks to eBay, and that is a complete steal. I don’t think L would have been very pleased if I told him I wanted to spend $600+ on fabric if I were trying to get the same sort at the store. 😀 Anyway, I love, love, love the colour and feel of it too. I always hesitate when about to use a beloved fabric, because there is always a “what if I end up with a better project for it?” or “what if if I screw up??” I must say that it goes so well with the frame though:


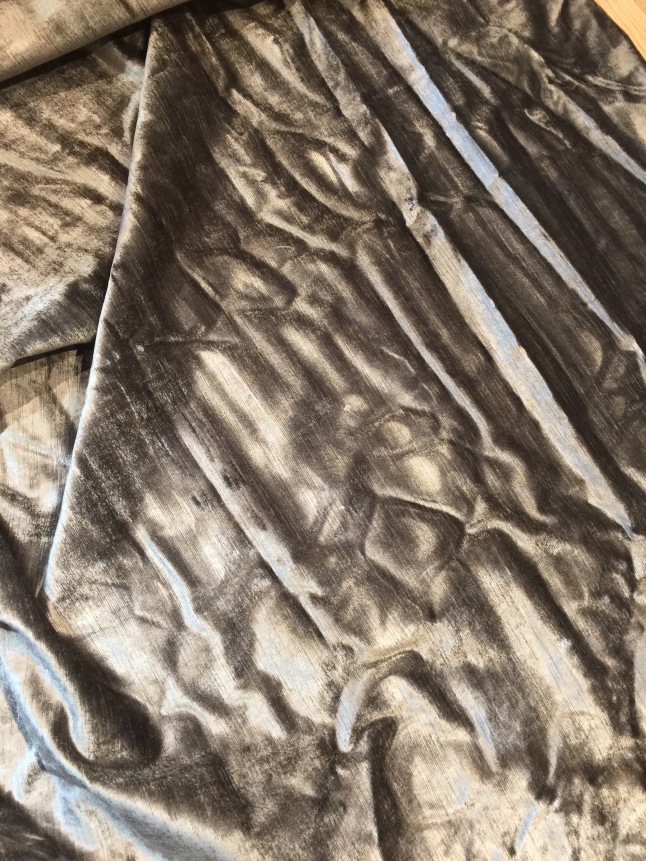
As you can see, it isn’t easy to capture the true look in photos!
So, the last thing I did yesterday was to plan out the pieces required, double check, and mark the yardage:


I have a couple of yards left over for making pillow covers. I’m planning on a lumbar pillow and will make a neck roll sort of thing too, and there is more if I want to add some throw pillows for the living room sofa or anything. Actually, I may make a chair pad to cover the seat and save it from cat or baby messes? I don’t know.
That’s it for now, because I need to go get to work on sewing and upholstering this thing!
On to the continuously updated to-do list. I’ve completed quite a bit since the last post with it and have colour coded the remainder with red as high priority projects and orange for want to do but maybe/likely will not:
Mini’s room
-Brush final trim coat on nursery panelling.
-Remove storm windows
-Disassemble, and replace screens. (Update: make new screens to install for summer instead of storms.)
-Scrape and glaze: (One,) (two,) (three.)
-Paint exterior windows.
-Install screens.
-Remove old security crap from windows.
-Patch.
-Paint windows (interior.) -Scrape and vacuum.
-Install sash locks.
-Change light switch and cover plate.
-Buy and install shades.
-Have crib sandblasted and finished or do a DIY clear coat.
-Attach casters to crib. Create replacement hardware.
-Attach casters to walker and assemble.
-Bring dresser from Dad’s and refinish.
-Sew Kirghiz felted carpet to a dowel for wall-hanging.
-Strip rocking chair.
-Sand rocking chair.
-Stain rocking chair.
-Reupholster rocking chair and sew pillows.
-Fix leaky sink valve.
-Set up furniture, wall art, and organise.
-Strip new mid-century hutch.
-Patch and sand hutch as needed.
-Stain hutch.
-Clear coat hutch
Main living areas and stuff
-Replace certain outlets, switches, and cover plates.
-Paint dining/living windows.
-Scrape messy paint.
-Finish painting kitchen trim and panelling
-Repaint living/dining ceiling.
-Apply sealant on entry and hearth tile/grout.
-Sew back of sofa.
-Staple cambric.
-Sew pillow covers.
-Finish sanding dining chairs.
-Stain and wax chairs.
-Paint and Mod Podge antique travel chest.
-Touch up kitchen chairs and hoosiers.
-Repair coffee table.
-Repair and sand end table.
-Paint table. -Paint main bath.
LATER:
-Reupholster recliner.
-Reaupholster little round chair.
Exterior
-Weed garden and path
-Stain east side of house.
-Stain or hire west side of house.
-Powerwash patios and chairs.
-and paint rusty table with hammered finish.
-Stain patios.
-Permanently attach umbrella to deck with bolts.
-Powerwash fence.
-Stain fence.
Front of house
-Patch broken front steps.
-Paint foundation a more pleasing shade.
-Buy new light fixture and install with sensor bulb.
-Last bit of patching.
-Last bit of painting.
-Wash exterior windows and skylights (uninstalling storms. Make screens.)
-Finish glazing windows
Unfinished part of basement
-Finish painting walls.
-Rewaterproof spot on floor.
-Touch up floor paint.
Organisation
-Organise storage area.
-Organise basement.
-Organise Garage.
-Organise attic. Sort stored items again before sale.
-Organise kitchen.
-Organise sewing room.
-Organise baby items in closet.
-Organise master closet.
-Have yard sale.
Dressing room and spiral stairwell
Done!
Sewing room
Done!
Other kinds of non-house projects
-Remake lamp shade for hanging lamp in Mini’s room.
-Remake a play mat and arches for hanging toys?
-Stain and make a busy board for Mini
–Sew dresses for myself; light coat for myself and Mini; dresses, pants, and quilted coats for Mini; a small and queen sized quilt; sew some soft toys; …
-Crochet or knit sweaters, hats, pants, and booties for Mini
-Make a mobile?
Pushed to later:
Master
-Caulk.
-Paint master ceiling.
-Touch up master bath vanity.
-Recoat walls.
-Properly hang mirror.
-Install tub trim kit and drain.
-Install shower trim kit.
-New switches, outlets, and cover plates.
Storage room (now office)
-Remove stored items from storage/office.
-Rip out carpet and pad.
-Remove panelling.
-Patch and caulk.
-Prime.
-Brush paint.
-Roll walls.
-Paint sewer pipe with hammered finish.
-Paint ceiling.
-Change light fixtures.
-Change outlets and cover plates.
-Frame the two cinderblock walls
-Install foam insulation panels
-Drywall or panelling…
-Prime and paint newly insulated walls
Media room
-Get rid of giant speakers and console.
-Mount TV and sound bar.
-Rip out crappy laminate.
-Remove trim.
-Install DryCore.
-Lay insulating underlayment.
-Install vinyl planks.
-Reinstall trim.
-Paint touchups. (I did re-paint a lot but need to finish since I ended up using a new gallon that doesn’t match perfectly.)
-Arrange furniture.
-Paint or replace stained ceiling tile. (or ideally change to 2×2′)
