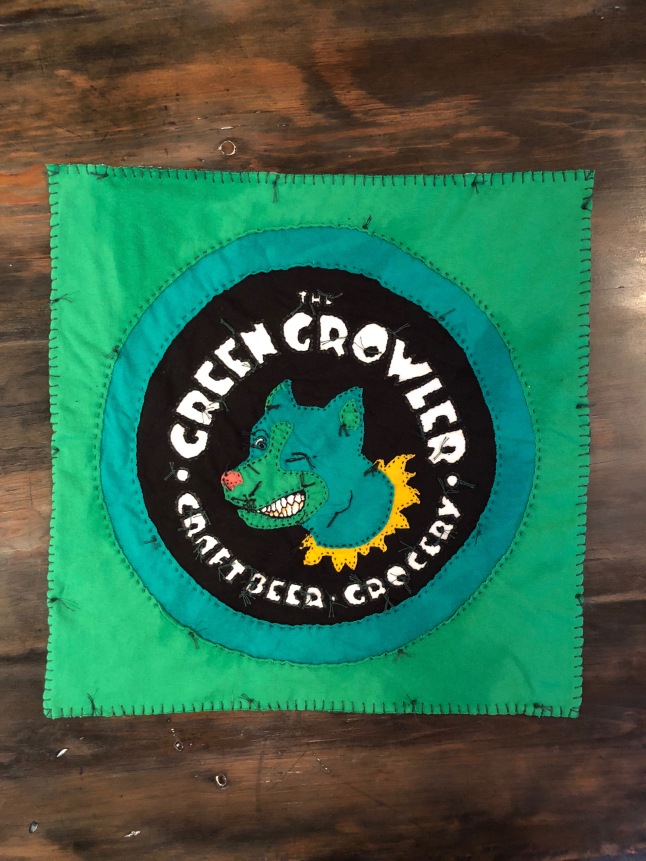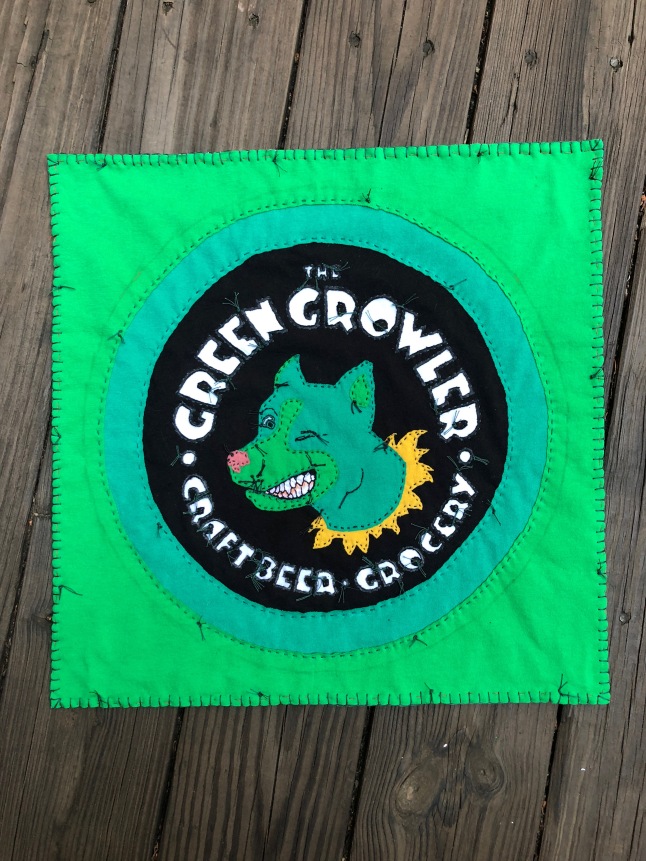
I finished this a few weeks ago but couldn’t post about it until I’d presented it to the recipient, so first I’ll ramble a bit about the other pieces that I’ve begun since and will be posting about:
Yesterday I traced out and drafted a little bodysuit pattern for Mini in her current size. It has spaghetti strap shoulders for the upcoming hot weather, the usual onesie shape, and an optional overskirt. It was based off a sleeveless bodysuit that I really like but without a ruffle flutter sleeve, and then I added the overskirt from another dress waiting in her closet. I began a 12-18m size too, but then I thought I better test the smaller pattern first. If it looks good then I might do another pattern adding to the chest area and giving it long raglan sleeves? With the overskirt it takes a very large T-shirt to fit all the pieces, so I couldn’t use the first pretty colour I hoped to… or the next seven. Oops. Finally I found a large enough shirt in a colour that made me happy and cut out all the pieces.
Before that I’d been sewing a little every day to make a Mini sized test version of my wrap dress. I wish so badly that I could already dress in all the things I plan to make. If only I could! There are long, elaborate, and flattering A.C. dresses and skirts; full linen skirts topped by slim singlets or flowing tunics; cloak-coats; layers of harem pants or skirts with draping hems of wrap tunics and scarves; long wrap dresses… I want to dress like this and feel comfortable, but alas it would take ages to complete (especially any elaborate and long A.C. clothes!) Instead I can make a piece or two for Mini each month. Eventually I hope to make a few of my wrap dresses in knit, but I need to test the pattern first to make sure it doesn’t need to be altered for the difference in fabric type. Making a little dress is so much faster, less a waste of material, and as a lonely bonus leaves a nice dress for Mini to wear! Wonderful!
For several days now that little dress has been entirely done… except that I still need to fell one long seam. It is ridiculously close, but I’ve chosen to begin other things when I had a little time for sewing. Today or tomorrow I’ll complete it. I’m very pleased with the way it turned out, but it is probably too large for her to wear yet? Oh, and I used the leftovers of a T-shirt from the project I’m supposed to be writing about now. I only purchased pink for that reason, but I actually like it now and may look out for more.
On to what I meant to post about: One of the first things that I thought to make when I was getting the hang of A.C. techniques was a little gift for a friend who owns our favourite local pub. She encourages the arts and has a lot of cool artwork displayed and decorating the place, and I’ve never had anything that I could contribute until I thought of making a tapestry piece. Perhaps I could have been more imaginative, but I simply copied the bar logo and carefully made stencils from it. (I just cut bits out of the paper with an Xacto knife and trace with Sharpies.)
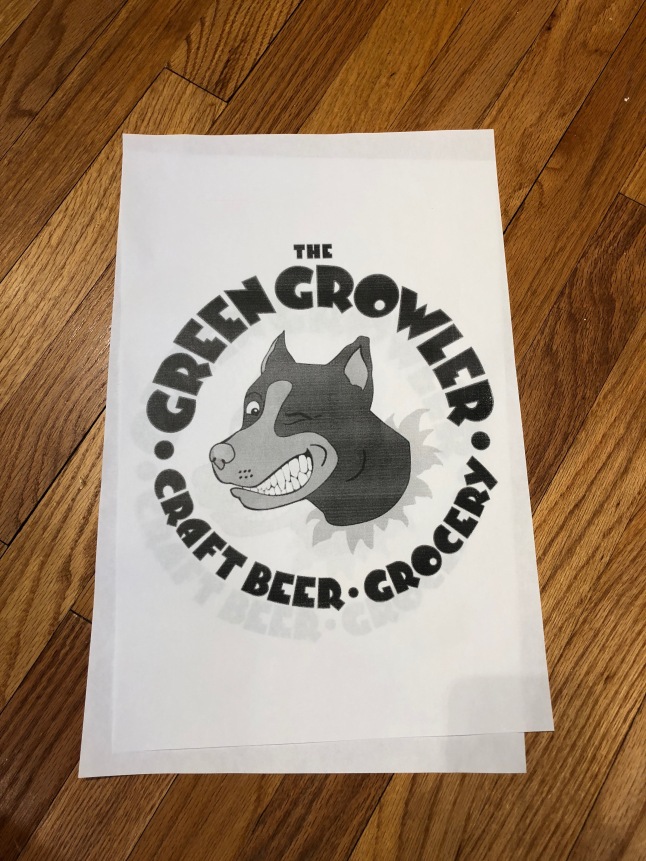
I went to the thrift store to find the right colours in men’s t-shirts, and it was lucky there were any left at all in greens unfortunately, because it was at Saint Patrick’s. Oops. I did find two in about the right shade though. I only needed a tiny piece of pink for the nose, so I had plenty for that little dress. There is a bunch of mustard yellow to use too, so I had better begin to like it better heh!
A bigger stencil would have been far better for all the detail and stitching, but I couldn’t enlarge it any more on one piece of paper. T size of the t-shirts also limited the dimensions of the square besides. I started by determining that base size on the white and black under layers, basting at the eventual cutting point, and basting around the area to stitch. Then I used a silver Sharpie to trace out the words before stitching them. The logo has a little green around the letters, so I used green thread, but you can barely tell it isn’t black. I decided to embrace the knottiness throughout the piece (except in a few details later.) At first I was going to have a white background like the actual logo, but I didn’t like how that would look with fabric or to think it may eventually turn dingy.
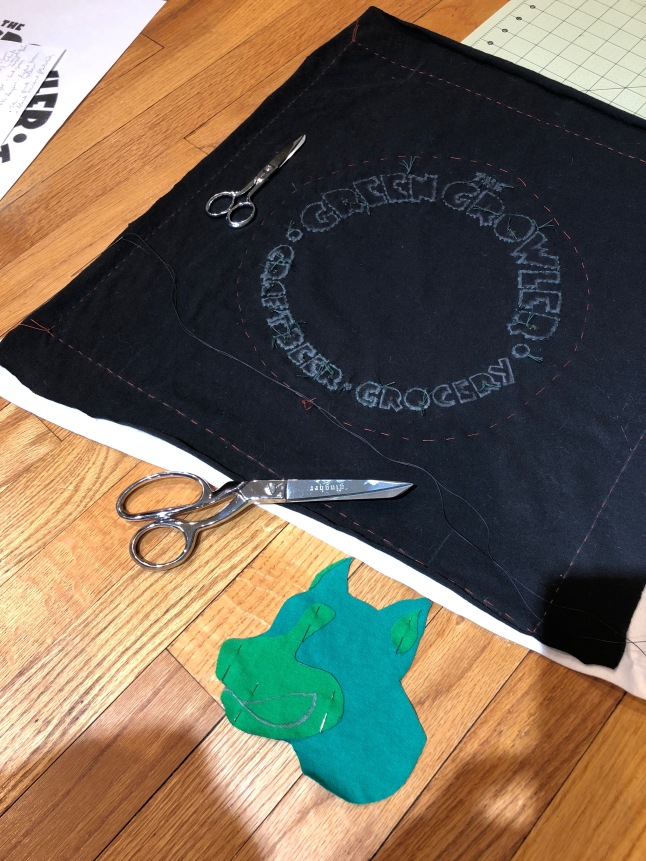
Then I cut the green layers and appliquéd them. The yellow layer was next, but I decided to unpick the green a little to allow placement behind rather than over as I’d first planned to. I switched to black thread to mimic the logo.
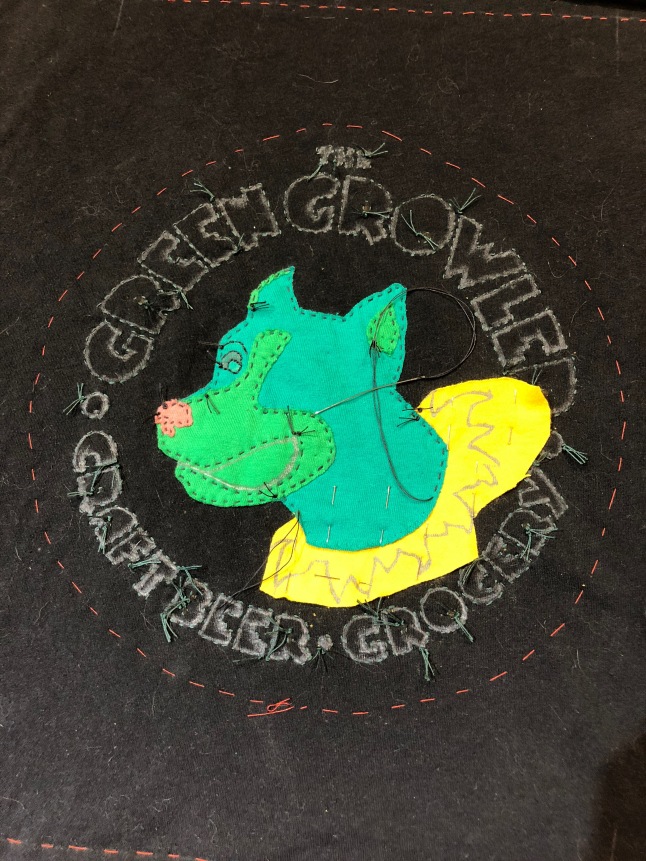
Then it was time to cut away and reveal the white! I traced out the teeth with chalk, but it didn’t wash away even after a few rounds. Shoot! I had to leave off the knots in the teeth and select other portions of the backstitched details to keep it from looking like a mess.
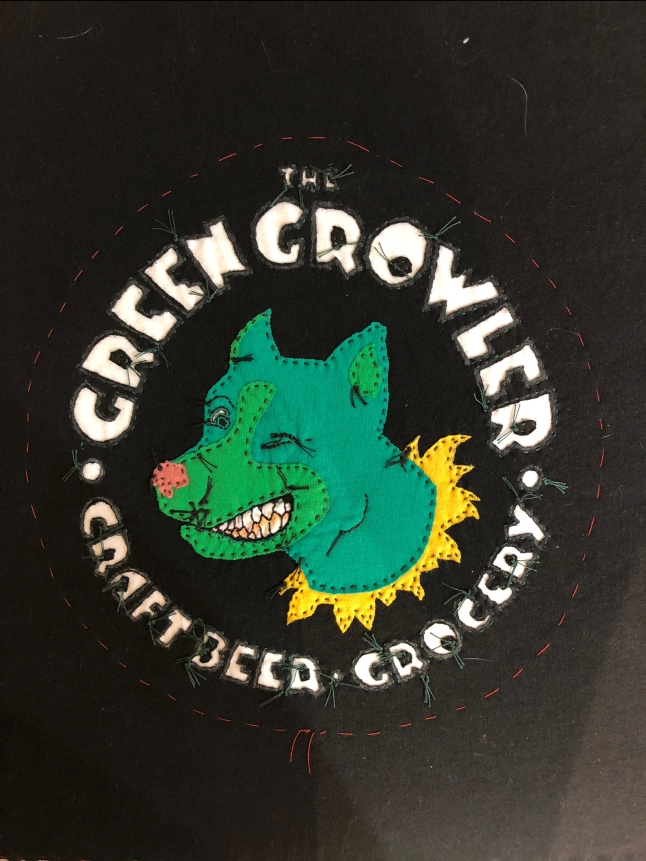
Getting there! Time to make circles…

… and to finish with a blanket stitch and DONE! It took forever and a day (late March until June!)
