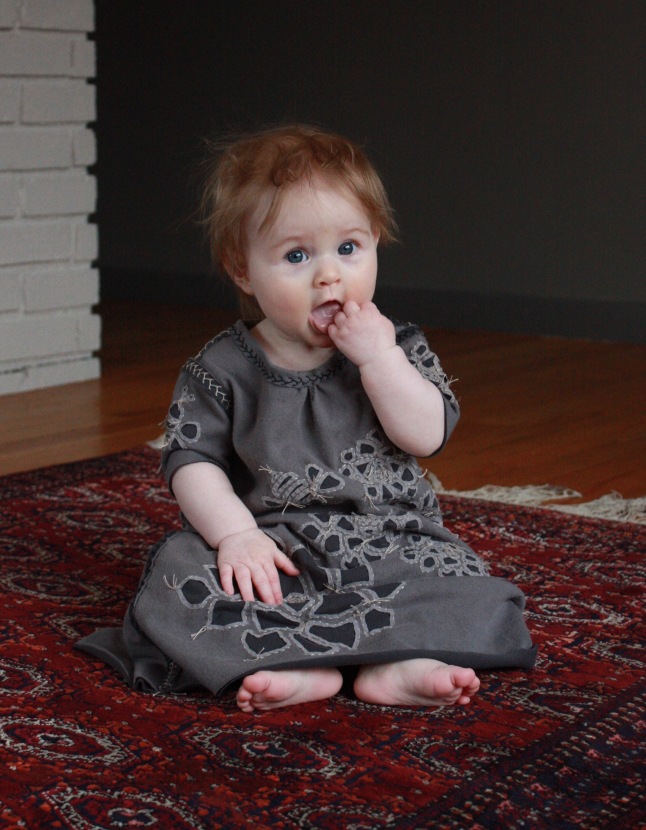
 So, I have a new crafting obsession. I’m quite late to the Alabama Chanin DIY party, but I recently discovered Natalie Chanin’s books. I’ve spent a lot of time gathering inspiration by reading the many blogs posts people have shared over the years about creating their own clothing using her methods. Now that I’ve made a couple of things of my own I’d like to add to the sea of posts on the subject, and to add something fresh I’ve used the techniques to begin building a unique wardrobe for my baby. In all my Googling I found pretty much nothing made for babies with the Alabama Chanin hand stitching and embellishment techniques on cotton jersey, so…
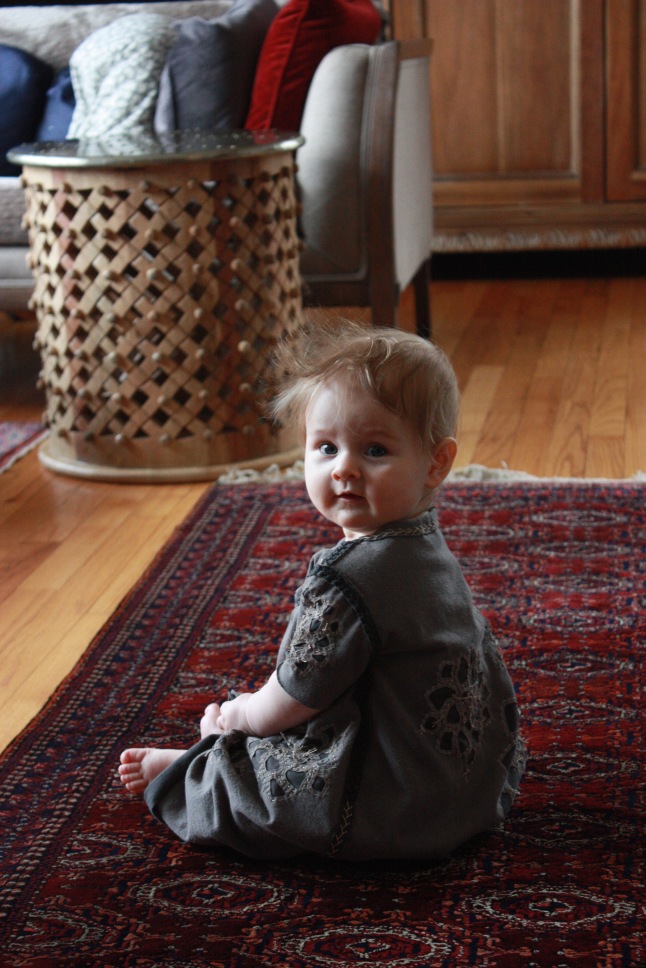
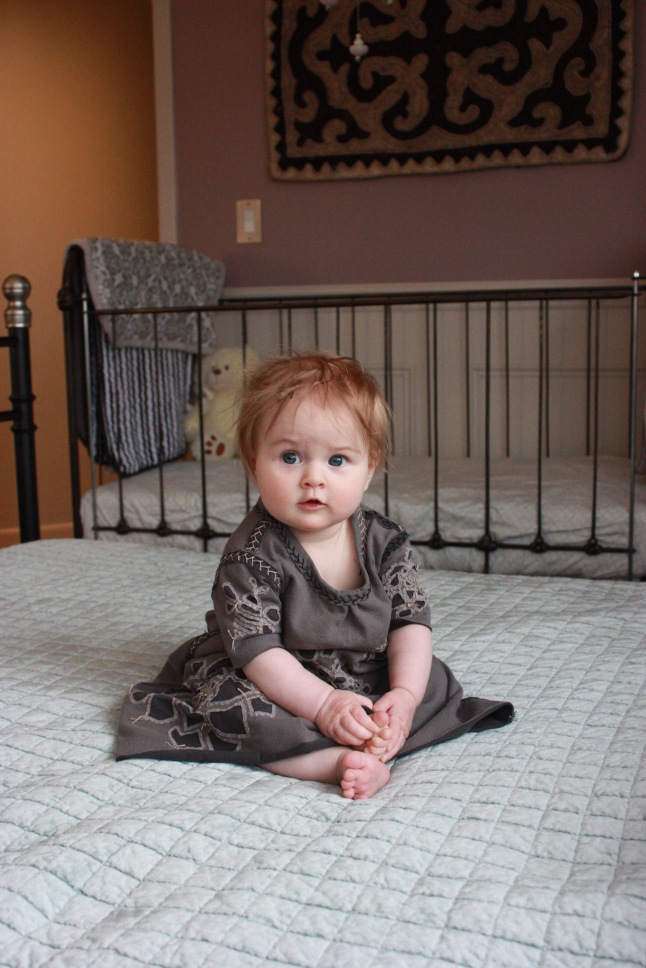
I’d actually heard of Project Alabama back in the early 2000s, but it seems that Natalie had to branch out on her own to maintain the made in the USA for fair wages aspect of her vision, and that is how Alabama Chanin came about. I found an Alabama Chanin wrap dress pattern while looking for inspiration for drafting my own dress, and one thing led to another. (As far as the dress, I ended up transforming my standard tunic dress into a wrap, and I love it! Something for another post, I suppose.) I decided to purchase the AC pattern and then realised it was going to be quite the endeavour.
Normally I do not sew knit fabrics. Okay, I never do. Back at FIT we did one project in jersey and used highly specialised machines for it. I never considered knits after that since the machines are ridiculously expensive, heavy, and huge. While I saw others using modern sewing machines to make clothing from jersey I never cared to learn about that realm thinking it would be too much a bother when I could just buy the items more cheaply. After a while I didn’t find so many suitable shirts and did wish I could make things that would fit better, not have such thin fabric, or were more to my taste, but construction still presented a problem since I couldn’t really picture a way to do nice seam finishes or achieve a remotely professional look. Then I was looking for wrap dress ideas and found the AC pattern, which led to reading blogs, discovering that apparently one can hand stitch cotton jersey, and buying one of Natalie’s books. Hand stitched knits?! Who knew!
Of course I wanted to make the dress, and I wanted it long. I went out and bought 4yds of fabric and it occurred to me that this was a pretty big project to begin with. Even so I was all set to dive into the deep end and figured it wouldn’t be too time consuming, but I was a bit nervous to cut into the somewhat pricey fabric without doing a toile. Instead I thought it might be fun to make something tiny for D.
Never doing things in moderation, I went to the thrift store and came home with a dozen or more XL mens T-shirts to turn into baby clothes. While going through the racks inspiration hit, and my own dress was all but forgotten. I loved that I could use old T-shirts for fabric while D is still small, and making her clothes solves my problem of building her a wardrobe in the next sizes up. Besides, I rarely like what I find in the stores anyway. I used some purchased pieces as reference and drafted little dress, T-shirt, pants, and bolero patterns in a size somewhat larger than needed now.
I began the first piece with a really cool fabric. It was a garment dyed T in a lovely purple from a jazz festival. I cut out a simple shift dress and decided to appliqué a few lady bugs cut from the scraps for embellishment. Note: I actually was starting with a lovely dark green T and the same dress, but when I tried using fabric spray paint and a stencil it was ruined entirely. The very thin paint wicked instantly into a sad blob. Instead of spray paint I tried a Sharpie to mark the lady bugs. I traced them onto scraps and carefully pinned them onto the dress matching grain lines although I see from the photos in the book that AC doesn’t seem to bother with the grain. It was a fun project, and I discovered I’d underestimated the time involved by a fair amount. Yup, a dress would be a major commitment, so baby clothes that are “quickly” completed would give a much better accomplishment high. I wonder when I’ll try tackling a large project for myself knowing now how long it all takes?
The jazz shirt wasn’t all that large, and I was lucky it was made without side seams allowing for creative placement of the pattern. The sides did have a faded streak, so I centred the back on that line to avoid too much weirdness.
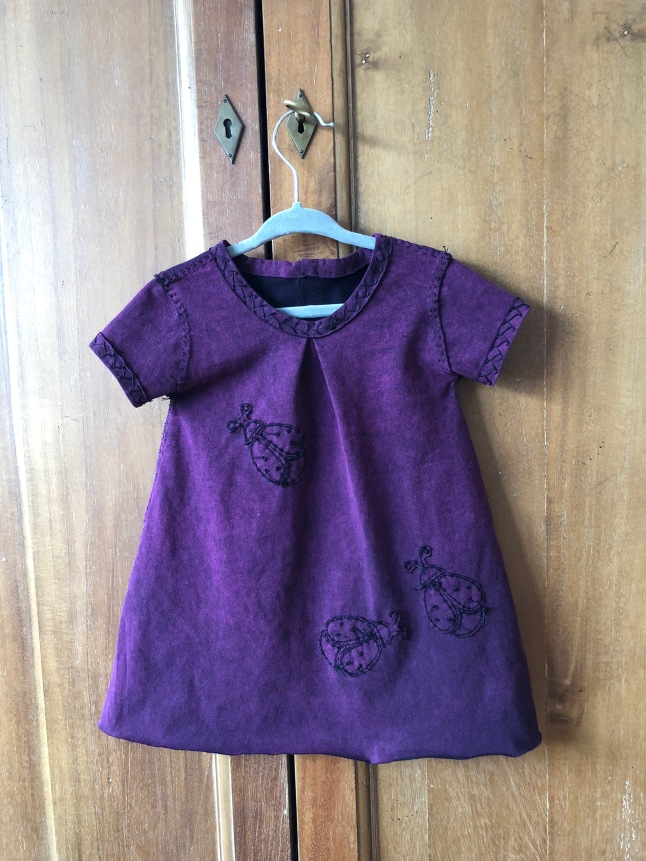
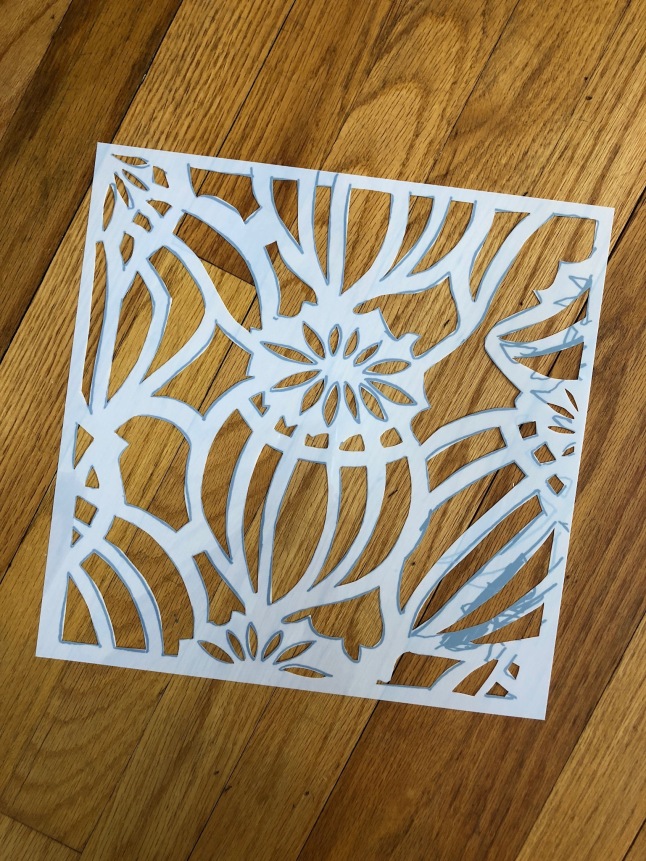
The purple dress really didn’t take awfully long though, because it did not involve cutting and basting two layers or tonnes of decorative stitching. I was very pleased with the end result and motivated to begin more. It was time to try the signature AC look with two layers of jersey and reverse appliqué. I carefully cut out a grey-beige layer and used a thinner dark navy T-shirt for the inside. I’d searched the local craft stores and bought a few stencils that I liked and which looked somewhat suitable for the process, (but I also have plans to make some of my own with better motifs.) For this dress I chose the fluffy flowers but also thought it would be cute to add bees.
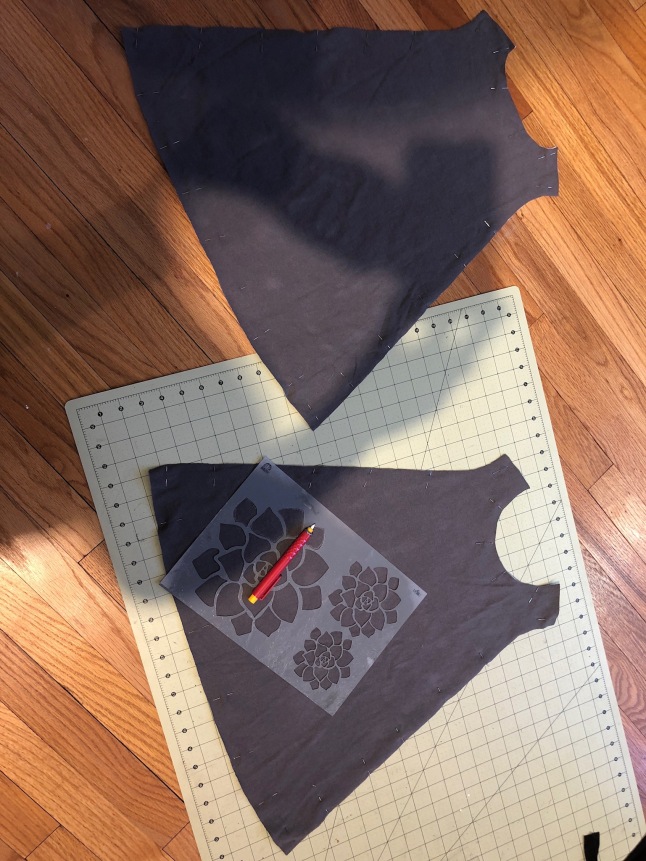
Instead of spraying paint and ruining the fabric I tried Tulip fabric paint applied with a foam stencilling dauber. The colours available to me locally were too bright and the wrong palate, but the ugly ballet pink-beige paint actually worked for this. Next time I’ll see about using Jacquard. Adding the bees was fun, and I ended up deciding to put one on a sleeve too with a flower on the other side. My plan was to tie knots on the outside and embrace the handmade look.
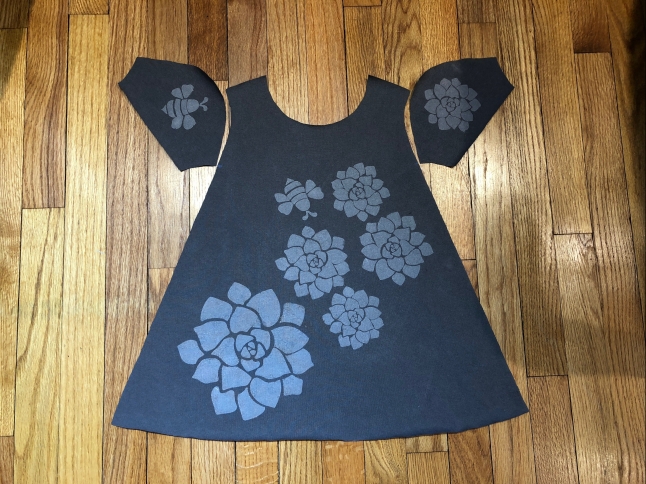
After carefully basting the layers together I started by stitching the back, and it went well. Then I did the sleeves quickly. My attention had begun to waver by the time I was working on the front, and it had the most stitching to do. Being able to pick up and drop what I was doing or take the panel to another room made it an ideal project to try working on while caring for a six month old.
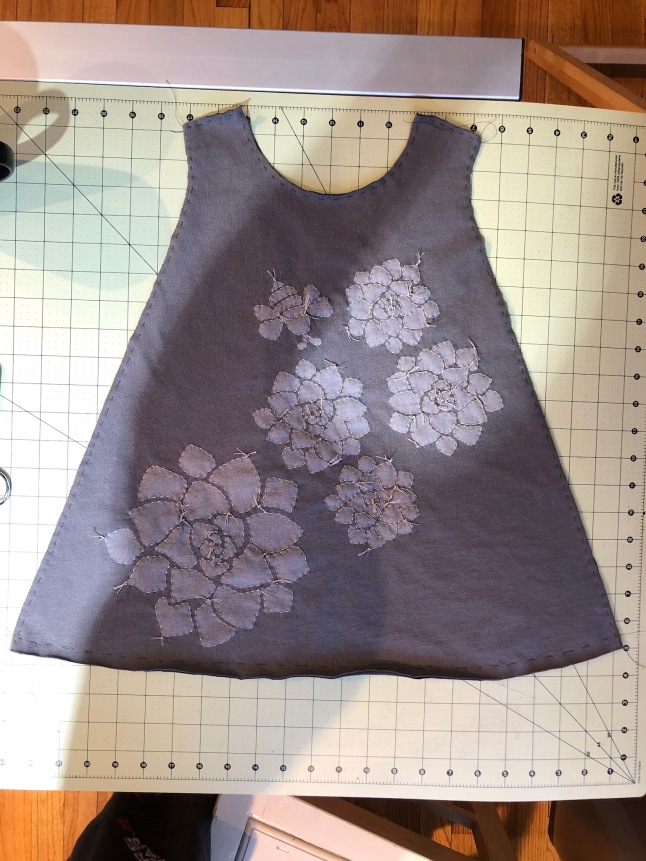
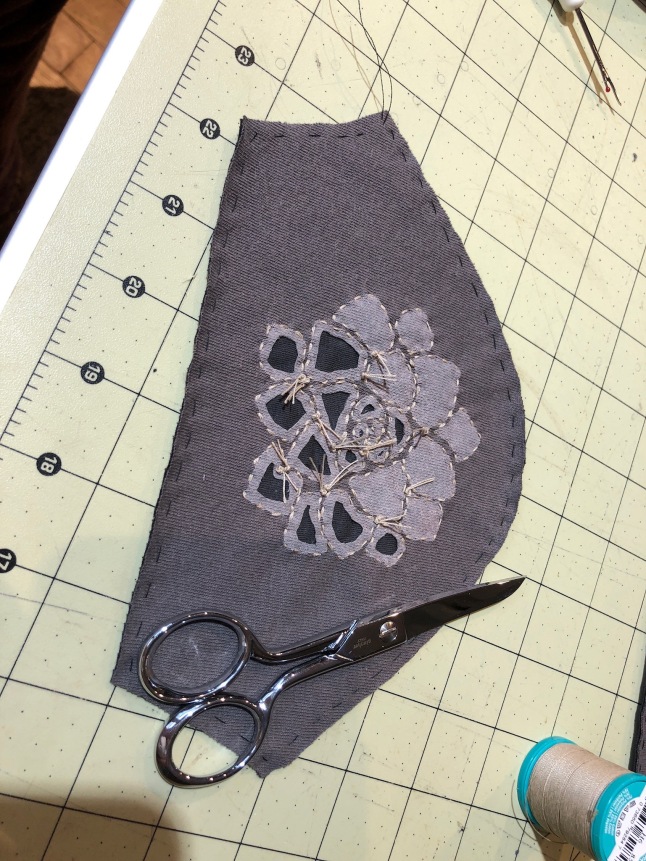
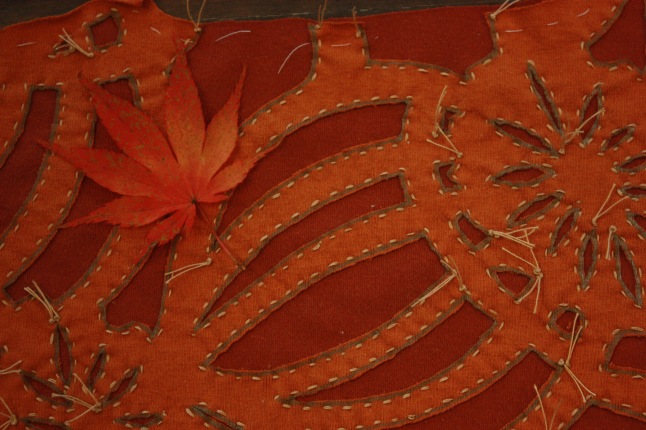
Finally it was time to carefully cut out the top layer from the stitched areas. This is where using smaller and less appropriate stencils makes things tricky. I started on a sleeve in case I cut through both layers thinking is a less painful piece to re-make. I did not have any such accidents until the last section: the complicated and time consuming front panel. I ended up darning those bits to the best of my ability. Gah!
I didn’t have many chances to work on the dress, and completion took a few weeks. When it came to construction I first had wanted to use floating seams, on the outside, as a part of the design. I liked how this looked with the two colours, but I was not keen on the appearance of the running stitch in light thread. So, I tried the decorative stitching that I used on the purple dress, but I thought the light thread and busy stitch took away from the reverse appliqué. L agreed, but I was reluctant to un-pick both shoulders and sleeves of work. First I un-picked one to re-do in dark thread. I liked it far better and nearly finished the entire garment with it, but L suggested combining both light and dark. I went with that and am mostly pleased. I like it, but I also have the original vision in my mind too and would have like it. Even the decision of where to use which thread on each seam caused some angst over the different directions of look to go with, but I am not unhappy with the choices. Finally the dress was all done!
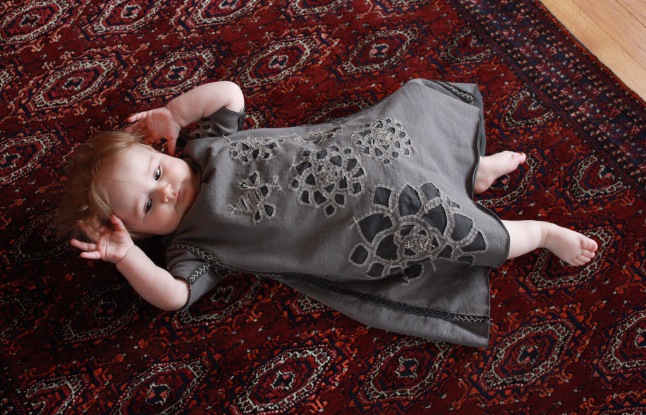
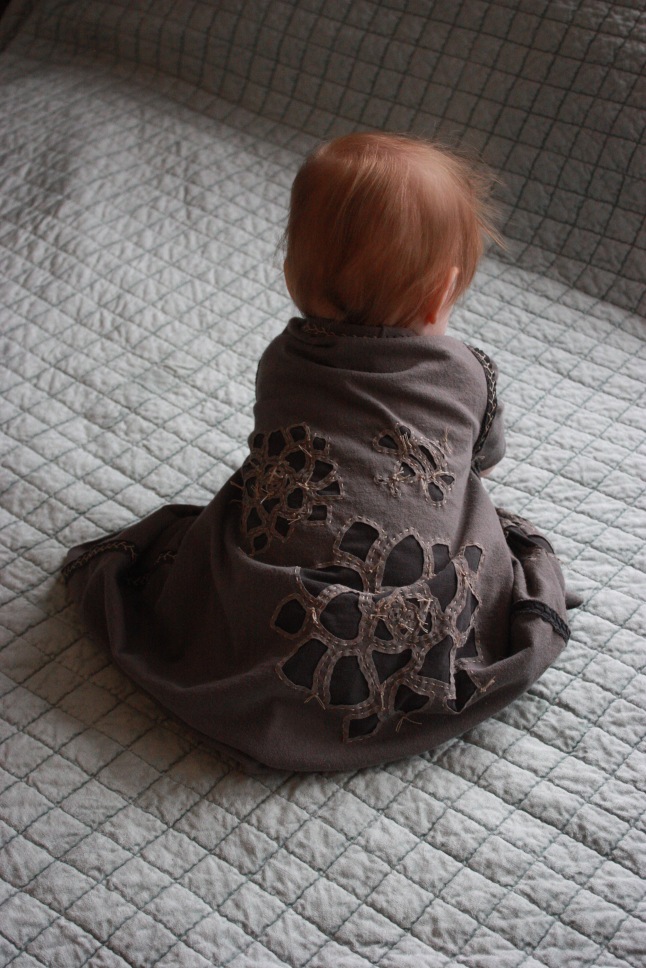
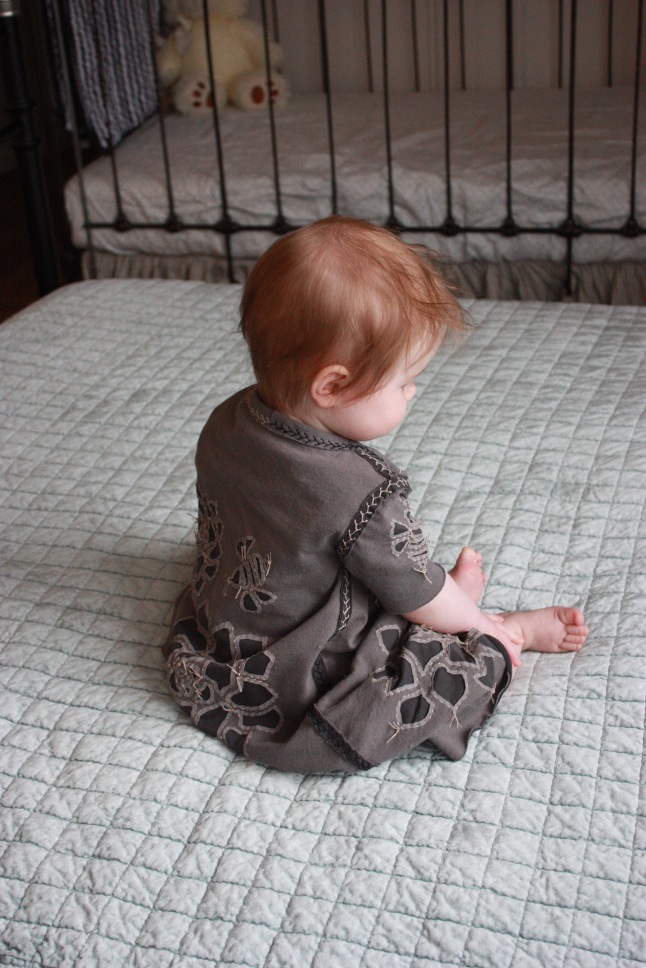
I have already cut out some more double and single layer dresses. The simple single layer one is half complete despite only a few minutes of work, but I’ve discovered that it is more pleasant to hand stitch when using two layers. Interesting. Perhaps it is only the particular fabric, but the needly just doesn’t find its way through without a lot of effort. The plan is to make a decent number of simple shifts and a few fancy ones in a size the might work as a dress and tunic for a while. I have also drafted a pixie hat pattern besides the pants and bolero, and before the hand-stitching craze hit I’d made a few similarly flexible patterns for woven fabrics that I’ll write about next.


 So, I have a new crafting obsession. I’m quite late to the Alabama Chanin DIY party, but I recently discovered Natalie Chanin’s


